19 Syawal 1433H, Kh.
Assalamualaikum warahmatullah.
I've just upgraded from Ubuntu 11.10 Oneiric Ocelot to Ubuntu 12.04 Precise Pangolin.
For some reasons the system has given me internal errors since the last two start-ups.
My cousin suggested the reason to be the dual-boot thus not everything was upgraded. To try iron out the problems, she suggested updating the system manually using the Terminal. Then remove unneeded packages using the Terminal as well.
The command line has changed since Ubuntu 9.10 Karmic Koala. The old post:
How to update Ubuntu using the Terminal or Update Manager [Ubuntu 9.10 Karmic Koala]
(http://ubuntudigest.blogspot.com/2010/03/how-to-update-ubuntu-using-terminal-or.html)
I stopped using the Terminal after i had some problems with the update or something and have been updating using the Update Manager since. The problem happened some releases back. That's why i haven't update that post although aware of the change in command line. But there's no reason not to make a new post now.
Part A: Update using the Terminal
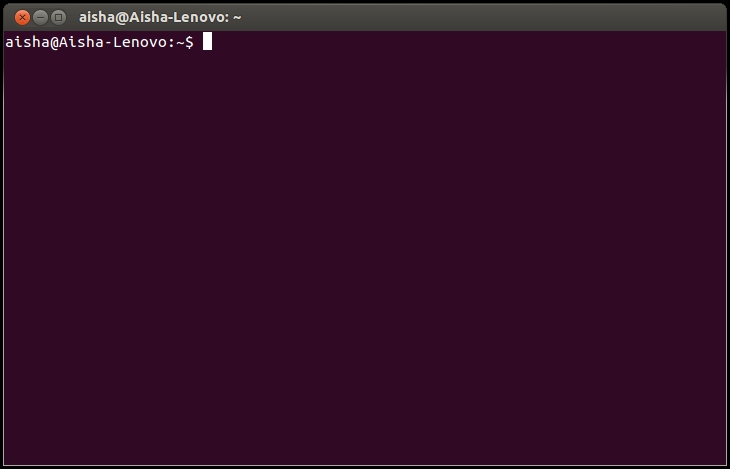
Pic 1 - The Terminal window.
1. Run the Terminal window.
i'm used to the Launcher being auto-hidden in Ubuntu 11.10 so i had the Launcher hidden for Ubuntu 12.04 as well.
In 12.04 - the launcher is not hidden by default.
Source: configuration - How do I configure Unity 2D? - Ask Ubuntu > 11.10 & above
(http://askubuntu.com/questions/32667/how-do-i-configure-unity-2d)
1.1. Go all the way to the left of the screen to call-out the Launcher. Skip this step if your Launcher is not auto-hidden.
1.2. In the Launcher, click the Dash Home icon, see Pic 2 and Pic 3.

Pic 2 - Refer to Step 1.2. The Dash Home icon in Launcher.

Pic 3 - Refer to Step 1.2. Accessing the Terminal.
1.3. In the Search field, type-in "terminal", see Pic 3.
The search results will auto-filter.
1.4. In the filtered results, click the Terminal icon, see Pic 4.
The Terminal window will appear, see Pic 1.

Pic 4 - Refer to Step 1.4. The Terminal icon.
2. To get the list of packages, type into the Terminal the command line, see Pic 5:
sudo apt-get updatethen press the Enter button.

Pic 5 - Refer to Step 2. Getting the updates.
3. The password prompt for user, see Pic 6:
[sudo] password for aisha:will appear immediately below the command line in Step 2.
Type-in your password then press the Enter button.
The password itself (i.e., ABC123) or characters representing the password (i.e., ******) will not appear as you type-in your password. Even the cursor doesn't move as the password is typed-in, instead it remains blinking in the same spot.
The fetching is done when the line, see Pic 7:
Reading package lists... Doneappears.

Pic 6 - Refer to Step 3. The requested password.

Pic 7 - Refer to Step 3. Done fetching lists of packages.
4. To see the list of updates required for your system, type into the Terminal the command line, see Pic 8:
sudo apt-get installthen press the Enter button.
..., see Pic 9:
To install the updates, type into the Terminal, see Pic 10:
ythen press the Enter button.

Pic 8 - Refer to Step 4.
Pic 9 - Refer to Step 4. *No updates at the moment to make screenshot.*
Pic 10 - Refer to Step 4. *No updates at the moment to make screenshot.*
Note 1: Autoremove
Sometimes you get the, see Pic 11:
The following packages were automatically installed and are no longer required:response.

Pic 11 - The no longer required packages.
5. To automatically remove obsolete/unnecessary packages, type into the Terminal the command line, see Pic 12:
sudo apt-get autoremovethen press the Enter button.

Pic 12 - Refer to Step 5. Removing the unnecessary packages.
6. When asked, see Pic 13:
Do you want to continue [Y/n]?
Type in:
yto continue the removal process then press the Enter button.
Type in:
nto quit the removal process then press the Enter button.
The removal process is done when the line (user@computer:~$), see Pic 14:
aisha@Lenovo-Aisha:~$appears.

Pic 13 - Refer to Step 6. Confirming the removal process.

Pic 14 - Refer to Step 6. The removal process is complete.
Note 2: Upgrade
Sometimes you get the, see Pic 15:
0 upgraded, 0 newly installed, 0 to remove and 35 not upgraded.response.

Pic 15 - Packages need to be upgraded.
7. To upgrade the packages, type into the Terminal the command line, see Pic 16:
sudo apt-get upgradethen press the Enter button.
The list of packages needing upgrade will be listed, see Pic 17.

Pic 16 - Refer to Step 7. Upgrading the necessary packages.

Pic 17 - Refer to Step 7. The list of packages needing an upgrade.
8. When asked, see Pic 18:
Do you want to continue [Y/n]?
Type in:
yto continue the removal process then press the Enter button.
Type in:
nto quit the removal process then press the Enter button.
The removal process is done when the line (user@computer:~$), see Pic 14:
aisha@Lenovo-Aisha:~$appears.

Pic 18 - Refer to Step 8. Confirming the upgrading process.
Part B: Update using the Update Manager

Pic 19 - The Update Manager window.
9. Run the Update Manager window.
9.1. Go all the way to the left of the screen to call-out the Launcher. Skip this step if your Launcher is not auto-hidden.
9.2. In the Launcher, click the Dash Home icon, see Pic 2 and Pic 20.

Pic 20 - Refer to Step 9.2. Accessing the Update Manager window.
9.3. In the Search field, type-in "update", see Pic 20.
The search results will auto-filter.
9.4. In the filtered results, click the Update Manager icon, see Pic 21.
The Update Manager window will appear, see Pic 19.

Pic 21 - Refer to Step 9.4. The Update Manager icon.
10. In the Update Manager window, click the Check button to check for updates, see Pic 22.
Pic 22 - Refer to Step 10. *No updates at the moment to make screenshot.*
11. A tick mark is automatically put in the box next to the updates.
Click the Install Updates button to install the updates, see Pic 23.
Pic 23 - Refer to Step 11. *No updates at the moment to make screenshot.*
Note 3: Pinning the Update Manager to the Launcher
12. To "pin" the Update Manager icon in the Launcher, run the Update Manager. See Step 1.
13. Right-click the Update Manager icon in the Launcher, see Pic 24.
In the right-click menu, click Lock to Launcher.

Pic 24 - Refer to Step 13.
Wassalam.


